Review and competition: Panasonic Lumix G2 camera
Sponsored by Nuffnang.
This post includes:
- Review of Panasonic Lumix G2
- Photos from my first week using the camera
- Competition: Win a Panasonic Lumix G2 camera Competition is closed
I was very excited when Nuffnang invited me to take part in a promotion for the new Panasonic Lumix G2 camera.*
I’ve been researching and thinking about a new camera for close to 12 months but haven’t been able to make my mind up: stay with compact/point-and-shoot or make the jump to DSLR?
I’ve been taking photographs for over five years and don’t mind admitting that I don’t have advanced technical knowledge about photography. Up to now, I’ve only ever used compact digital cameras – my very first, the Canon Ixus V (2005 – 2007) and my trusty Panasonic Lumix TZ3 (2007 – 2010). I’ve favoured compact cameras for their small size mainly because:
- I can carry a compact camera easily wherever I go, in my backpack , in my handbag or on my belt.
- I can take photos in restaurants without being noticed – ninja food blogging!
While the small size and stealth of the compact camera has suited my needs for the most part, low light photography is one of my biggest frustrations and is increasingly a problem as restaurants continue to favour dim lighting in their dining rooms. My TZ3 takes fantastic shots in good lighting conditions but struggles to focus in low light. Its flash is much too bright, creating over-exposed, unusable images. We’ve eaten magnificent meals at restaurants which I haven’t posted here at the blog because it was simply too dark to take photos that would be worth sharing with anyone. DSLR cameras have larger sensors than compact cameras and therefore better imaging capabilities – they perform better in low light situations. But I’ve been reluctant to make the jump to DSLR because of its significantly larger size and more complex operation.
Review
Enter the Panasonic Lumix G2. It’s the perfect compromise between point-and-shoot and DSLR.
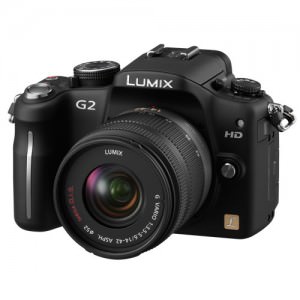
The Lumix G2 uses the Micro Four Thirds system, which is a standard created by Olympus and Panasonic. What you get with Micro Four Thirds is an interchangeable lens camera that is bigger than a compact camera but a lot smaller than a DSLR camera. The Micro Four Thirds camera’s sensor is not as big as a standard DSLR’s, but it is bigger than a compact camera’s sensor, so you get DSLR-like advantages – superior image quality and better low light capability – without the bulk of a DSLR.
More info about the Micro Four Thirds system at the Panasonic website
The Lumix G2 includes manual controls so advanced users can tweak settings to their heart’s content, but the auto settings also mean you don’t need to be an expert to use it right away. There’s even an Intelligent Auto (iA) mode which chooses all the settings for you. I haven’t used iA mode though – I’ve been having too much fun experimenting with the controls and settings, using a combination of auto and manual settings. I think this will be the perfect camera for me to use as I learn more about photography.
The camera has a live view LCD screen as well as an electronic viewfinder. The LCD screen is very cool – it’s also a touchscreen and it swivels 180 degrees forward or 90 degrees towards you so you can take photos at high or low angles more easily. The swivel screen makes self-portraits easy too. I haven’t found the touch screen to be that responsive to my touch – I guess I’m used to my iPod Touch, which is very responsive. I’m sure I’ll get the hang of it.
The Lumix G2 shoots HD movies too, but I haven’t had the chance to try that feature out yet.
The camera shoots RAW or jpg or you can even choose both. I’ve never worked with RAW image files before but I plan to learn.
The Panasonic Lumix G2 is a 12.1 megapixel camera. RRP is AU$1299 for the standard pack with one kit lens (14-42mm) or AU$1599 for the twin lens pack, which is great value as it includes the 14-42mm lens as well as a zoom lens (45-200mm). The Panasonic Lumix G2 is available in three colours: black, blue and red.
Read more about the Lumix G2 at the Panasonic Australia Lumix website.
After a week of using the camera, here are my impressions:
- I’ve discovered I much prefer using the electronic viewfinder instead of the LCD screen to compose my shots. Sounds corny, but I feel more like a photographer using the viewfinder. :) My previous camera, the TZ3, didn’t have a viewfinder. The camera has an eye sensor that automatically switches to the electronic viewfinder when you place your eye close to the viewfinder and switches the LCD screen off, but I have been using the camera with the LCD closed anyway.
- I really like the build quality of the camera. It’s solid and sturdy and although I have small hands, the grip is very comfortable to hold and I love how the camera feels in my hands as I use it. If it was a car, I’d say it has “superb handling”. :)
- I definitely won’t be able to take stealth food photos with the G2. The act of taking photos with the G2 is more obvious due to its size and my peering through the electronic viewfinder and the size of the camera – it’s not a large camera by any means, but it’s definitely bigger than my old camera. But given how much fun I’m having using it and how great the photos look, so far I think the trade-off is worth it. I’ve bought myself a great little camera bag (Tarmac brand) which fits the camera with the kit lens attached and enough space to carry spare batteries, memory cards, notebook and pen. I can wear the case using the shoulder strap or fit it into my backpack.
- I love it! I’m not getting rid of my TZ3 right away, but the Lumix G2 will be my everyday camera from now on. My sister Juji had a play with it on the weekend and has told me she now plans to buy one herself!
Photos from my first week using the Panasonic Lumix G2 camera
All photos below were taken with:
- the kit lens that came with the camera
- ISO 400 unless stated otherwise
- auto white balance
- the flash set to off.
For this post, I tried to take photographs in different lighting conditions, at different times of day and of typical subjects you’d see here at the blog.
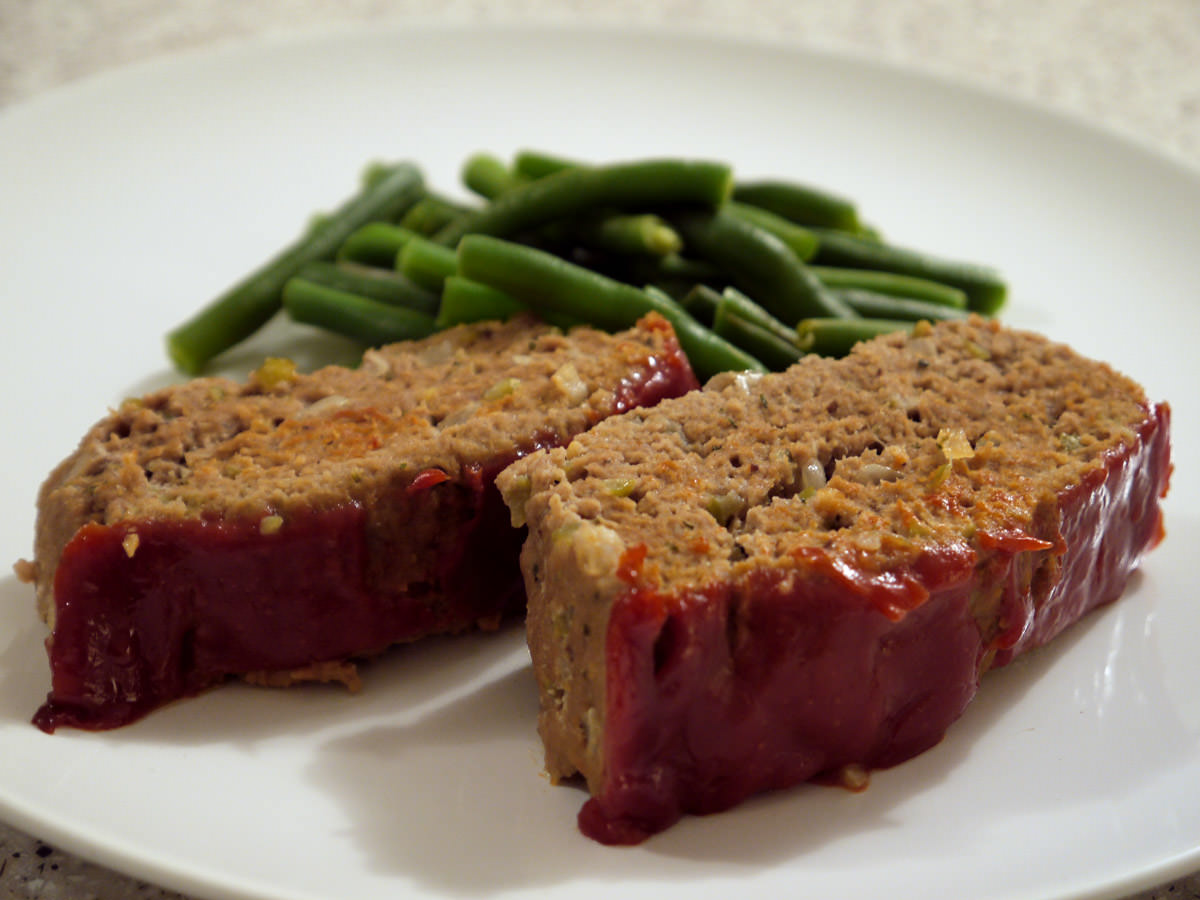
My first photos were of dinner! Meatloaf and green beans, taken in the kitchen at 6:41pm. Most of my food photos are taken indoors, often in less than ideal lighting conditions, so to test the camera in low light, I left the down lights switched off in the kitchen. I did adjust the brightness of the resulting photo but was very impressed by the camera’s ability to focus in low light and the resulting sharpness of the shot.
Portrait of Billy Lee, taken indoors at 7:17pm. Still testing the camera’s low light abilities, I took this photo in the living room with the overhead light switched off. Billy Lee was watching TV when I took this photo. I didn’t use portrait or night portrait mode so was pleased with how this photo turned out. I haven’t been able to take a decent photo of Pixel yet – she doesn’t like the new camera at all and leaves or looks away as soon as I point the camera at her.

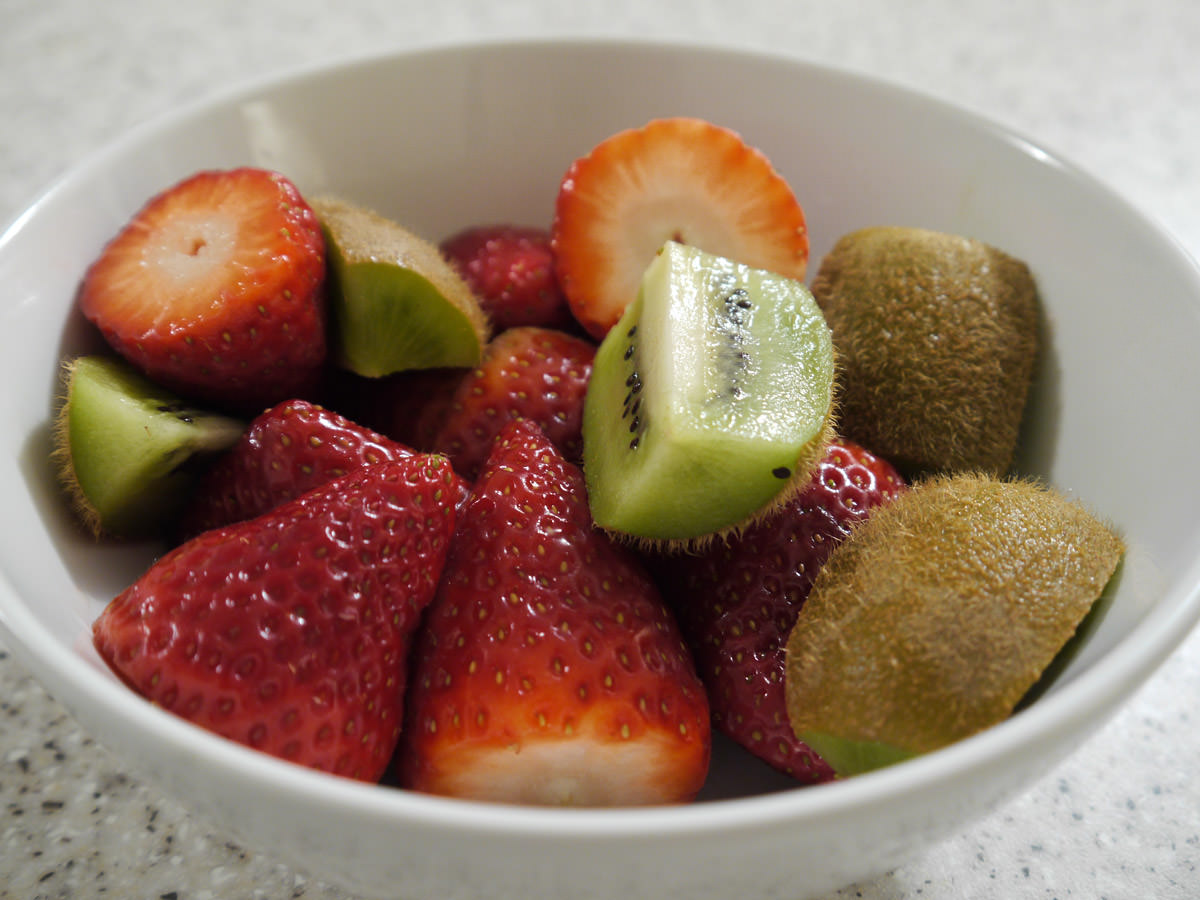
Fruit bowl, taken indoors at 7:15pm using macro food mode, again with the kitchen down lights off. I love the detail captured in the shot, especially the hairs on the kiwi fruit.
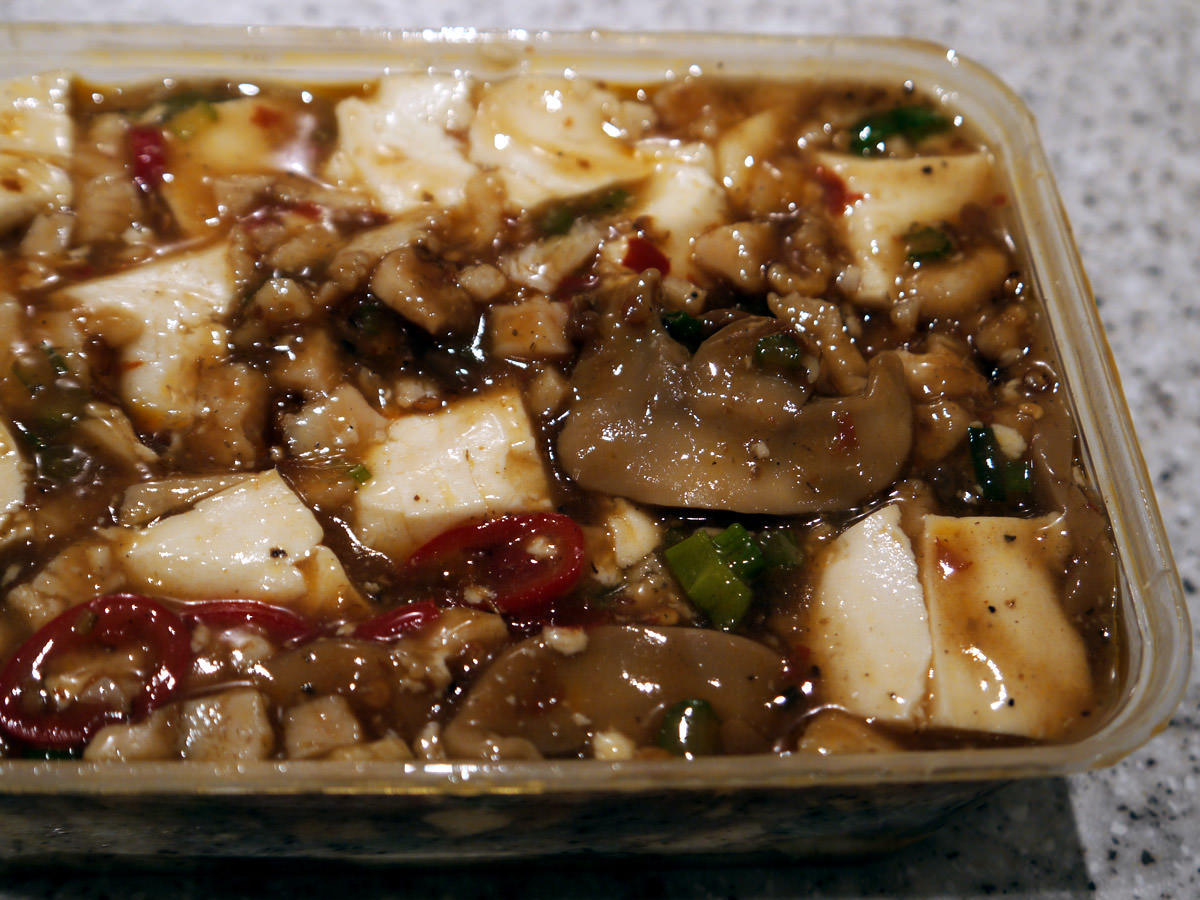
Our Chinese home delivery Szechuan tofu (ma po tofu), taken indoors in the kitchen with the down lights on, at 6:58pm. I’ve taken photos of ma po tofu over the years and this is probably my favourite of the lot.
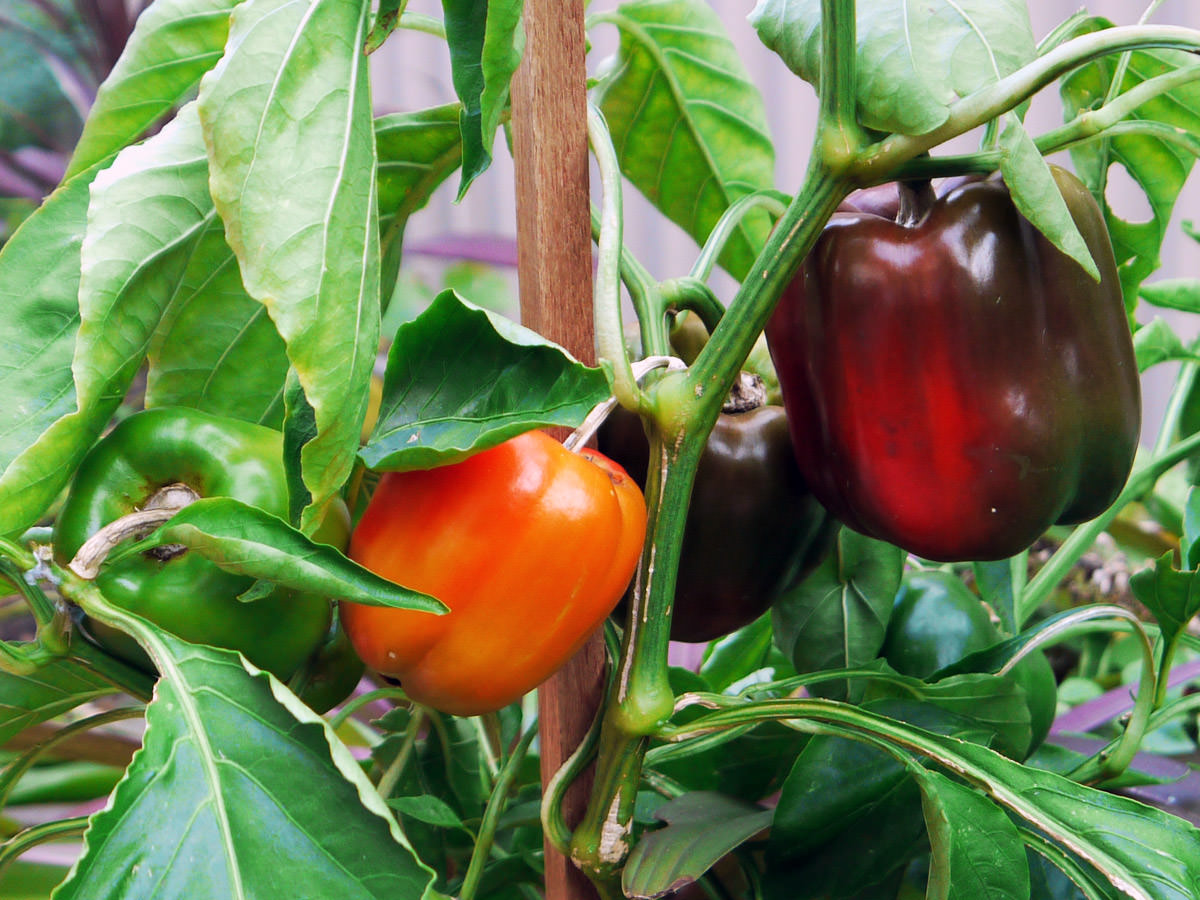
Homegrown capsicums, taken outdoors at 7:50am, ISO 200.
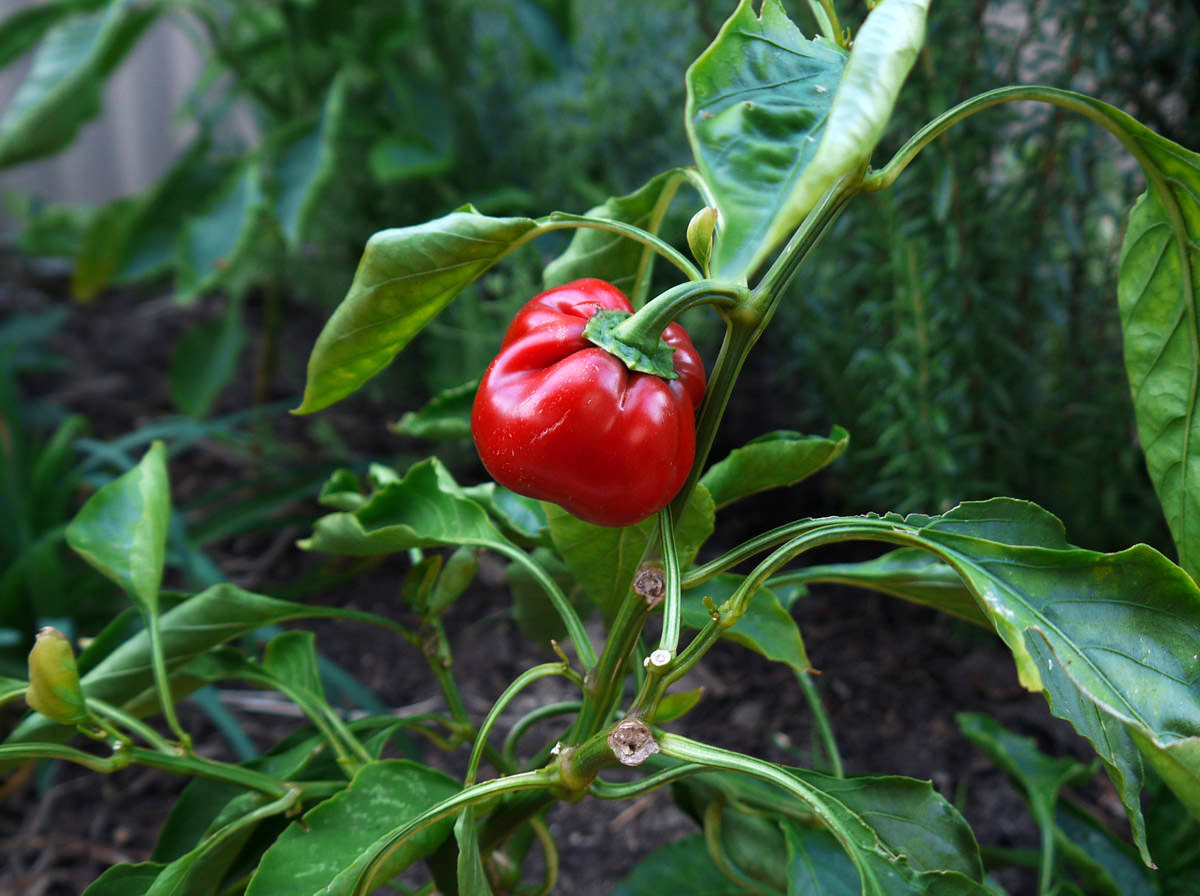
Homegrown red capsicum, taken outdoors at 8:05am using macro flower mode, ISO 200. With macro flower mode, you get grid lines on the LCD screen or in the electronic viewfinder (whichever you’re using). I found the grid very handy for composing this shot.
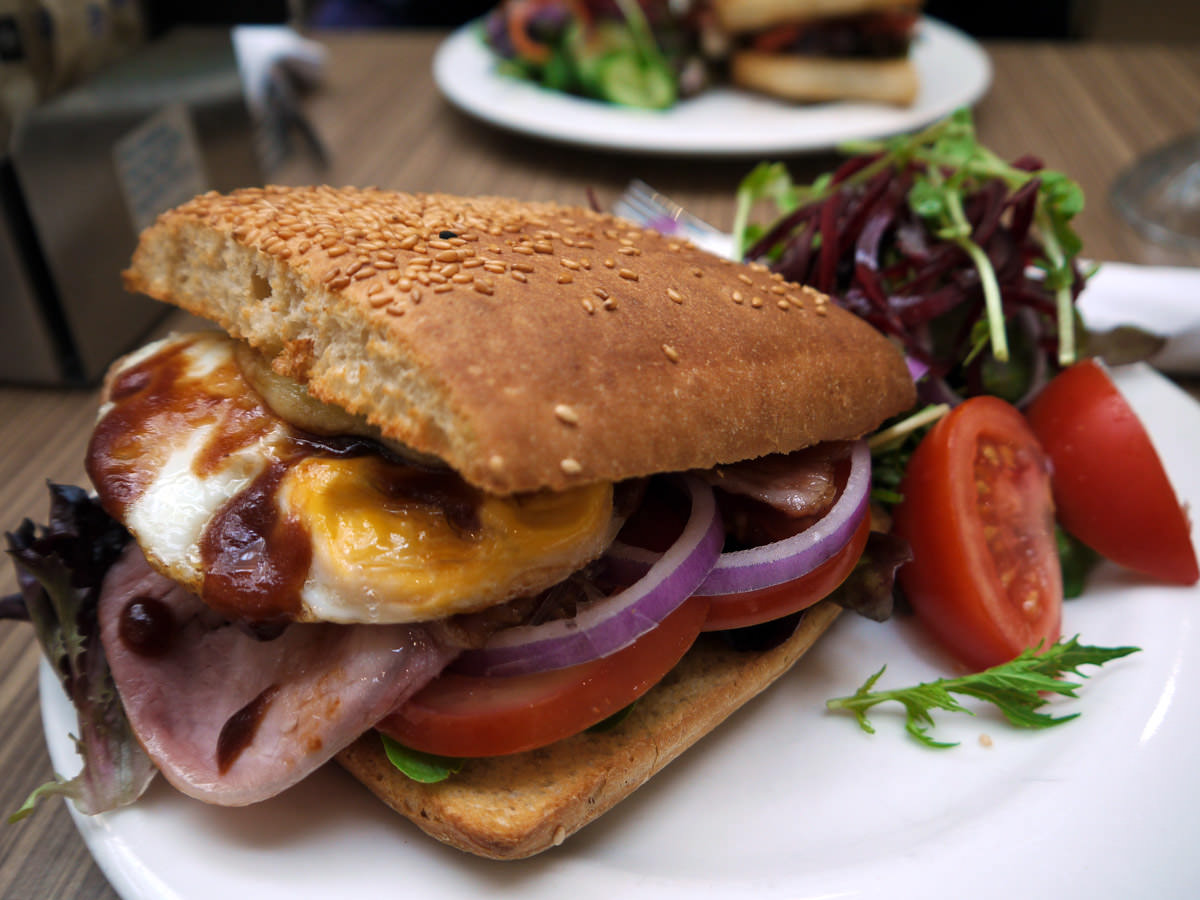
Gourmet bacon and egg Turkish roll, taken indoors at The Coffee Club, Carousel Shopping Centre at 10:12am, ISO 320. My review of The Coffee Club, including more photos, will be coming up soon.
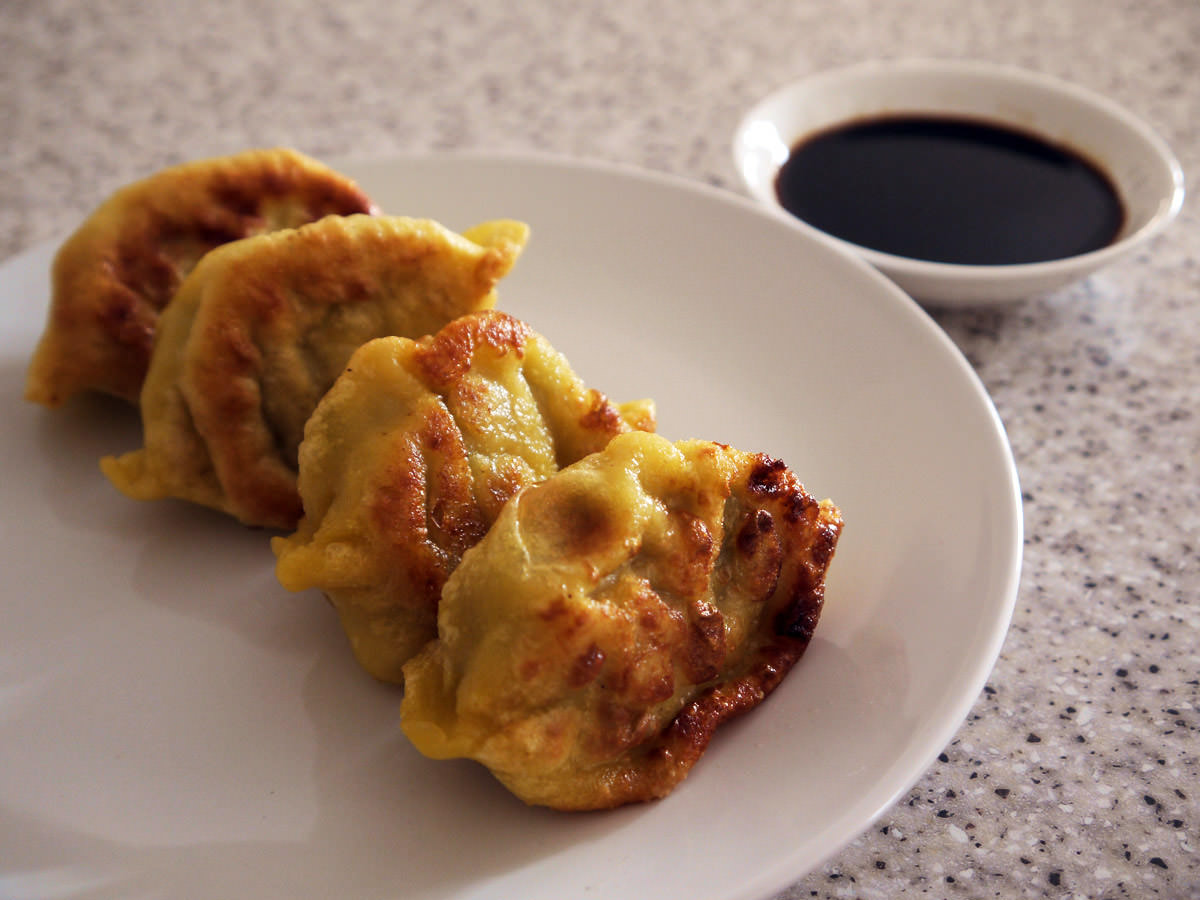
Pork and vegetable dumplings, taken indoors in our kitchen with natural light at 11:49am, ISO 400. They were meaty and delicious, by the way! There’ll be a post featuring the dumplings soon!
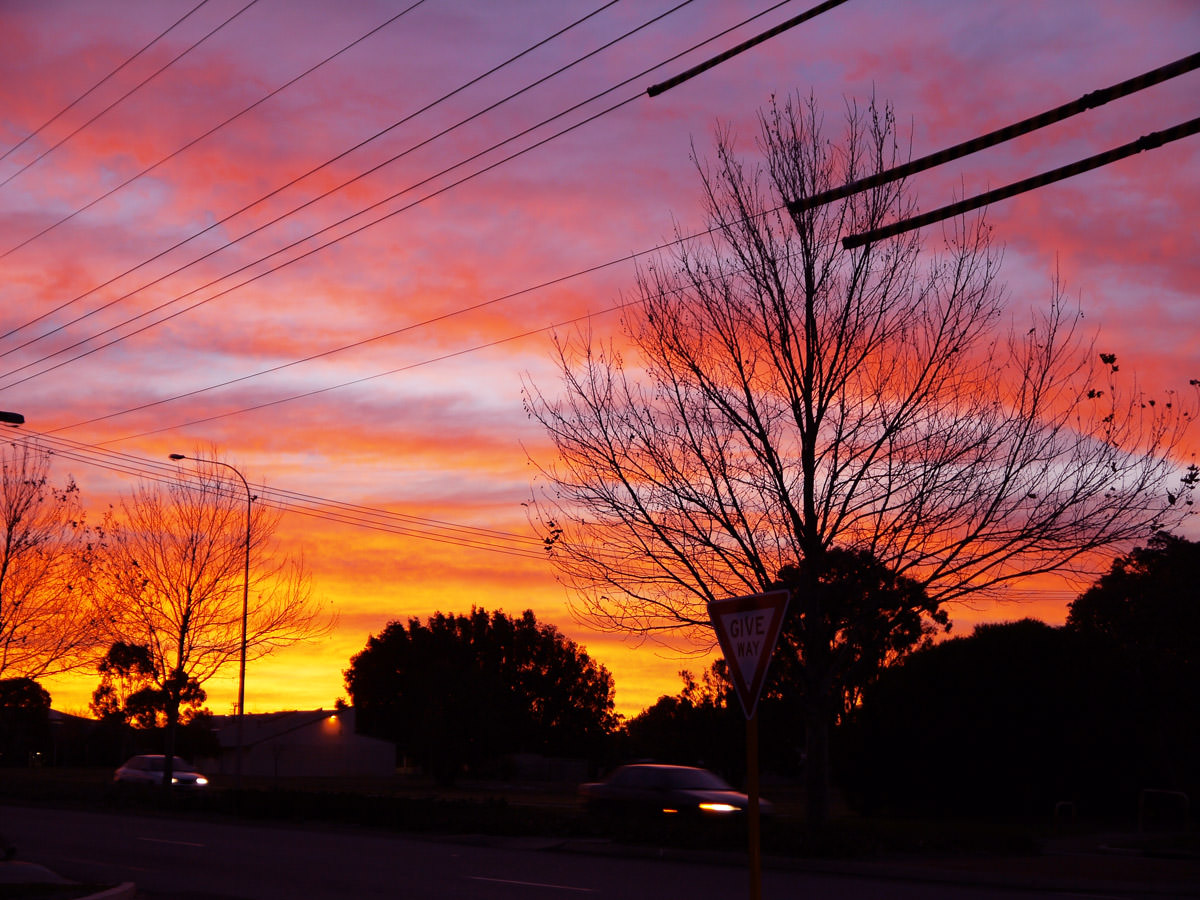
Sunset, taken at 5:17pm outdoors using sunset scene mode at ISO 160. I was standing outside Sizzler in Riverton when I saw the beautiful sky.
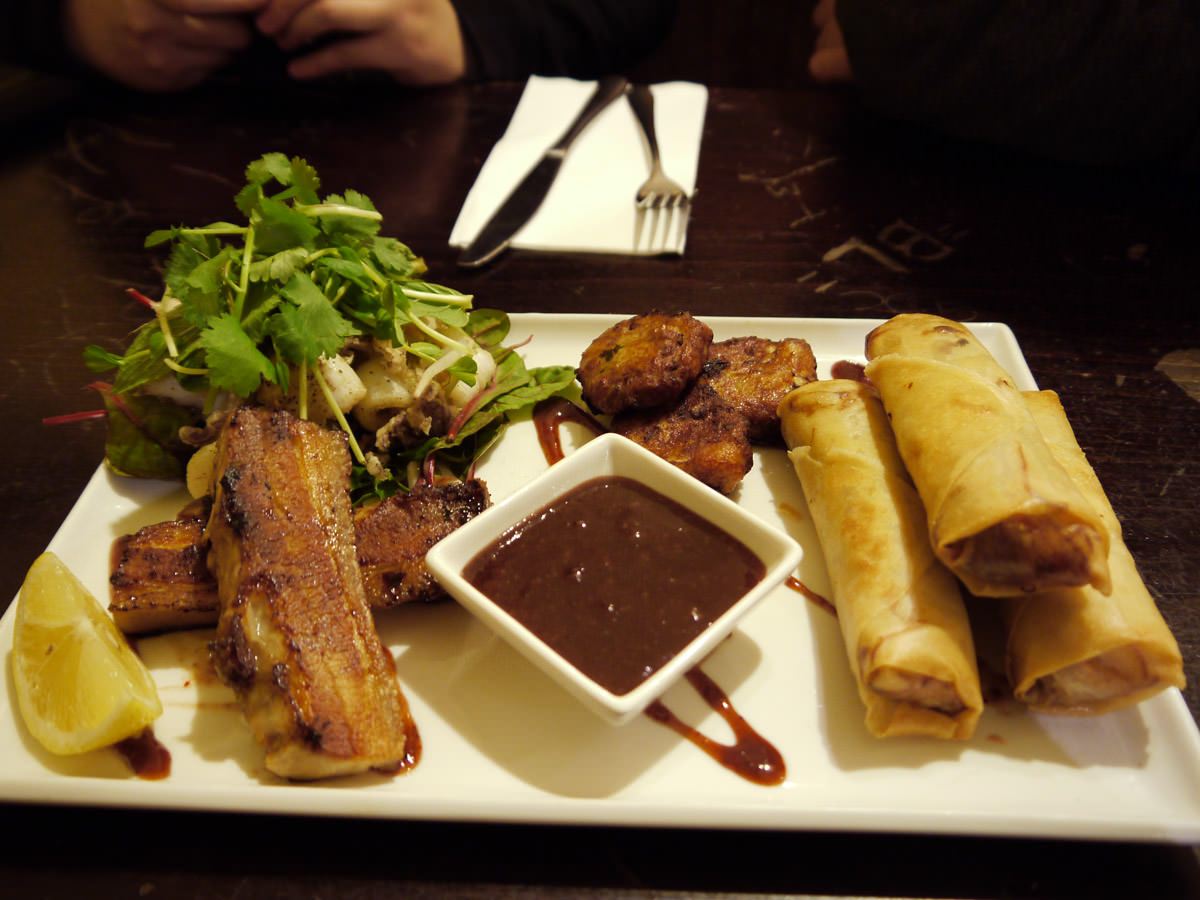
Tapas plate, taken indoors in High Road Hotel in Riverton at 6:19pm using macro food mode at ISO 400. I’m very excited – usable photographs in a dimly lit restaurant! My TZ3 would have struggled in those lighting conditions. I have since taken more restaurant photos in low light, and they’ve turned out fantastic – those photos/posts are coming up soon.
What do you think? So far, I’ve been really happy with the photos. I still have a lot to learn about the camera’s controls and functions. I’m looking forward to getting better at using the camera and hopefully taking even better photos.
EDIT, 29 August 2010
See more photos taken using the Lumix G2 camera:
- Coffee Club, Cannington
- Dumplings
- Cat photos
- Junk food photos
- Family photos
- East Perth, morning and night
- Miss Maud Pastry House Carousel
- Dinner – chicken and mushroom-filled savoury pancakes
- Toast, East Perth 2
- Havana Restaurant and Bar, East Perth
My top tips for food blog photography
I’m no expert, but these things have worked for me while using the TZ3 and I plan to do the same with the Lumix G2.
- Make sure the subject of your photo (the food) is in focus. I cannot stress how important this is – blurry pictures do not make good food porn! But blurred backgrounds can look great, especially if there’s a lot of unrelated junk in the background and it’s not possible to move all the stuff out of the shot. That’s the situation I’m usually in when taking food photos at home.
- Take photos using natural light if possible and avoid using the camera flash. Since 2007, no photo featured on this blog was taken using the flash. Pre-2007 when I used my very first digital camera, a Canon Ixus V, I used the flash regularly because I didn’t know any better. ;) The Lumix G2 comes with a pop-up flash but you can also use a hot shoe flash with it. I don’t plan to use the G2’s flash very much at all though.
- If you have a macro setting on your camera (usually represented by a tulip icon), try using it when taking close-ups of food. This will really help with the focus issue. I like to focus in close on my subject (the food) with a very short depth of field, so the food is the star of the shot. The Lumix G2 includes four macro modes: food, flower, object and creative close-up, which allows you to adjust the degree of background blurring.
- Learn to keep your hands really still when taking photos. Some people use a tripod (I don’t). Most cameras/lenses these days (including the Lumix G2’s kit lens) have image stabilisation which also helps!
- Experiment with your camera settings and modes to work out what looks best in different lighting situations.
Competition: Win a Panasonic Lumix G2 camera
Thanks to Nuffnang and Panasonic, you could win a Panasonic Lumix G2 camera!
The prize
Panasonic Lumix G2 camera with the 14-42mm F3.5-5.6 ASPH kit lens, the same kit I’ve used to take the photographs featured in this post.
Competition closes
11:59 pm AEDST 3 September 2010. This competition is now closed.
Who can enter
Australian residents, aged 14 years and over. You may not enter if you are management, employees or contractors of the promoter (Nuffnang Australia) and other agencies, firms or companies associated with the Promotion (including suppliers of prize Panasonic), and their immediate families.
Visit the Nuffnang blog for the full terms and conditions.
How to enter
Leave a comment at this post in response to the question:
How would the Lumix G2 make you a better photographer?
Note: If you are entering the competition, please make it clear in your comment e.g. by including the question as well as your answer!
Please make sure you fill in the email address field when leaving a comment. Your email address will not be published but will be used to contact you if you win. Good luck! And feel free to ask any questions you have about the camera – I’ll do my best to answer!
*Thanks to the generosity of Panasonic, I get to keep the camera! And I have since purchased the Lumix 20mm f1.7 ASPH “pancake” lens, which fits perfectly in my new camera bag and makes the camera even more compact. Stay tuned for LOTS more photographs taken with the Lumix G2 and more about the pancake lens – I am having so much fun with this camera!